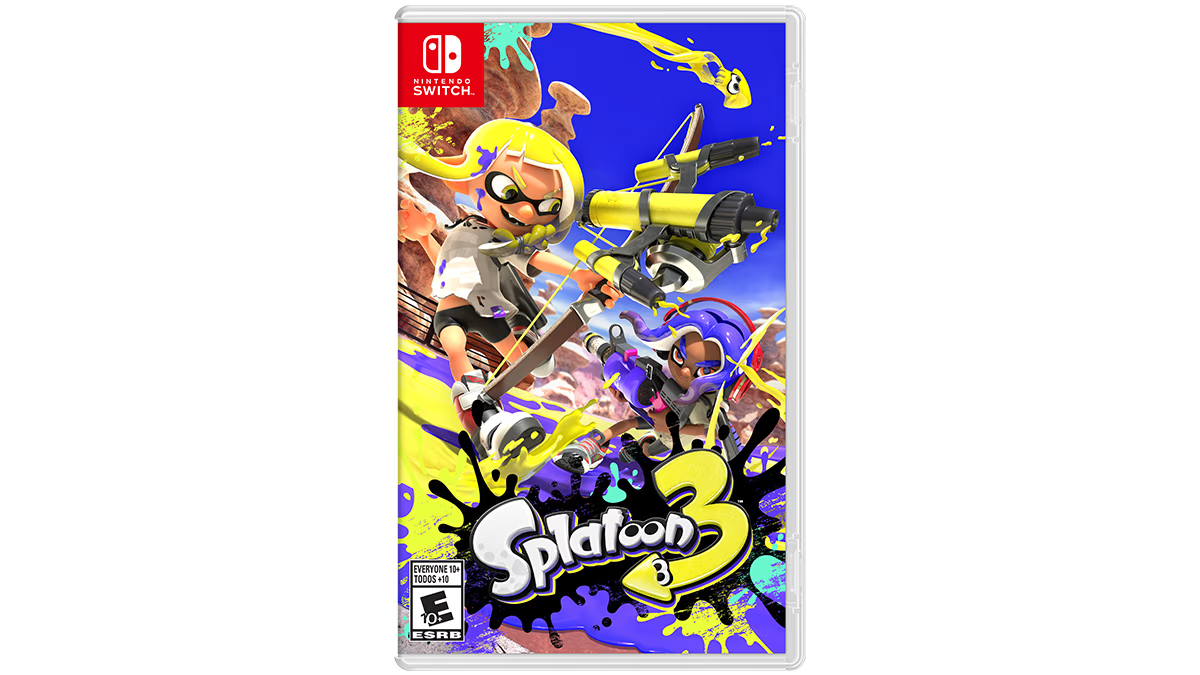
Splatoon 3 Anarchy Battle Guide: Zones, Tower, Rainmaker & Clam Blitz
Splatoon 3 Anarchy Battle guide covering Splat Zones, Tower Control, Rainmaker and Clam Blitz objectives, team positioning, map control, specials and how to stop treating ranked modes like ordinary Turf War.
Splatoon 3 Anarchy Battle Guide: Zones, Tower, Rainmaker & Clam Blitz
Splatoon 3 Anarchy Battle Guide: Zones, Tower, Rainmaker & Clam Blitz
Splatoon 3 Anarchy Battles use four rotating objective modes: Splat Zones, Tower Control, Rainmaker and Clam Blitz. Nintendo's official guides define separate win conditions for each mode, so playing only for splats is not enough.
The Four Anarchy Modes
Nintendo officially identifies:
- Splat Zones.
- Tower Control.
- Rainmaker.
- Clam Blitz.
Learn the Objective Before Entering
Each mode rewards different positioning.
A strong Turf War habit may not automatically be the correct Anarchy decision.
Splat Zones
Splat Zones is about controlling designated areas by covering them with your team's ink.
Nintendo's official mode explanation confirms that control starts your team's countdown.
Ink the Zone, Not Just Nearby Ground
If the zone is not controlled, unrelated turf has less immediate objective value.
Clear Enemies Before Standing Exposed in the Zone
You often do not need every teammate physically inside the zone.
Control nearby angles so the enemy cannot repaint freely.
Specials in Splat Zones
Special weapons can be especially useful for:
- Breaking an enemy hold.
- Forcing players away from the zone.
- Helping your team repaint safely.
Do Not Spend Every Special After the Zone Is Already Secure
Preserve resources for the enemy's next retake attempt when practical.
Tower Control
Nintendo describes Tower Control around taking control of a moving tower and riding it toward the enemy side.
The Tower Needs a Rider
If nobody occupies the tower, progress stops.
Not Everyone Should Stack on the Tower
Other teammates can create value by:
- Clearing the route.
- Watching flanks.
- Controlling high ground.
- Protecting the rider.
Push Ahead Carefully
Moving slightly ahead of the tower can remove defenders before the rider reaches them.
Do not push so far that the tower becomes undefended.
Rainmaker
Rainmaker revolves around claiming the Rainmaker and carrying it through checkpoints toward the enemy goal.
The Carrier Is the Objective
Once your team has the Rainmaker, teammates should help create a path rather than wandering into unrelated fights.
Protect the Carrier
Useful support includes:
- Clearing defenders.
- Inking movement routes.
- Using Specials to break positions.
- Watching alternate approach angles.
Do Not Rush the Rainmaker Alone
A carrier separated from the team can be eliminated before meaningful progress is made.
Know the Checkpoint Route
Nintendo's current Rainmaker format includes checkpoints before the final goal.
Play around the actual route rather than taking the weapon toward an irrelevant part of the map.
Clam Blitz
Clam Blitz requires players to collect clams and use them to attack the enemy basket.
Build Scoring Opportunities
Normal clams are resources toward opening and scoring on the enemy basket.
Do not scatter across the map collecting clams while ignoring the enemy team's position.
Escort the Scoring Push
When your team has the ability to break the enemy basket, move together enough to convert that opening into points.
Do Not Carry Valuable Clams Into a Hopeless Fight
Position and teammate support matter before committing to the basket.
Map Control Applies to Every Mode
Friendly ink creates movement routes.
Enemy ink restricts them.
Before an objective push:
- Ink useful paths.
- Remove enemy routes.
- Create places to retreat.
Splats Should Create Objective Progress
After eliminating one or more opponents, use the temporary advantage to:
- Capture the Zone.
- Move the Tower.
- Advance the Rainmaker.
- Score clams.
Do Not Chase Into Irrelevant Space
An enemy running away from the objective may be giving your team a chance to make progress.
Team Staggering
If several teammates are splatted, repeatedly entering alone gives the enemy easy defensive wins.
Regroup
Wait for enough teammates to create a coordinated push where practical.
Special Coordination
Several Specials used simultaneously can overwhelm a defense, but using all of them on an already-won fight leaves nothing for the next engagement.
Watch the Map
The map can help show:
- Ink control.
- Teammate positions.
- Areas where enemy movement is likely.
Objective Routine
- Identify the active Anarchy mode.
- Understand its win condition.
- Create useful ink routes.
- Fight for positions around the objective.
- Convert splats into progress.
- Use Specials to break or protect important pushes.
- Regroup after losing several teammates.
Common Anarchy Mistakes
- Playing every mode like Turf War.
- Chasing splats far from the objective.
- Leaving the Tower with no rider.
- Abandoning the Rainmaker carrier.
- Trying to score Clam Blitz alone.
- Entering objective fights one player at a time.
Bottom Line
Splatoon 3 Anarchy Battle is objective-first. Control the Zone, move the Tower, escort the Rainmaker or create coordinated Clam Blitz scoring opportunities. Splats matter because they open time and space for the objective—not because the elimination count itself wins the match.