Super Smash Bros. Ultimate Beginner Guide: Damage, Recovery & Neutral
Super Smash Bros. Ultimate beginner guide covering damage, launching opponents, recovery, shielding, dodging, short-hop attacks, movement, neutral play and choosing a manageable fighter.
Super Smash Bros. Ultimate Beginner Guide: Damage, Recovery & Neutral
Open controller inputs → · Open character move lists →
Super Smash Bros. Ultimate Beginner Guide: Damage, Recovery & Neutral
Super Smash Bros. Ultimate works differently from a traditional fighting game with a normal health bar. Nintendo's official guide explains the basic goal clearly: attack your opponent to build damage, then launch them far enough off the stage that they cannot return.
Understand Damage Percentage
The more damage a fighter takes, the farther that fighter is launched by strong attacks.
This means a match has two connected phases:
- Build damage.
- Turn that damage into a knockout.
Do Not Fish for Knockout Attacks Too Early
Strong attacks can be tempting, but using them repeatedly at low damage often makes your offense predictable.
Build damage first with safer attacks and positioning.
Choose One Fighter to Learn
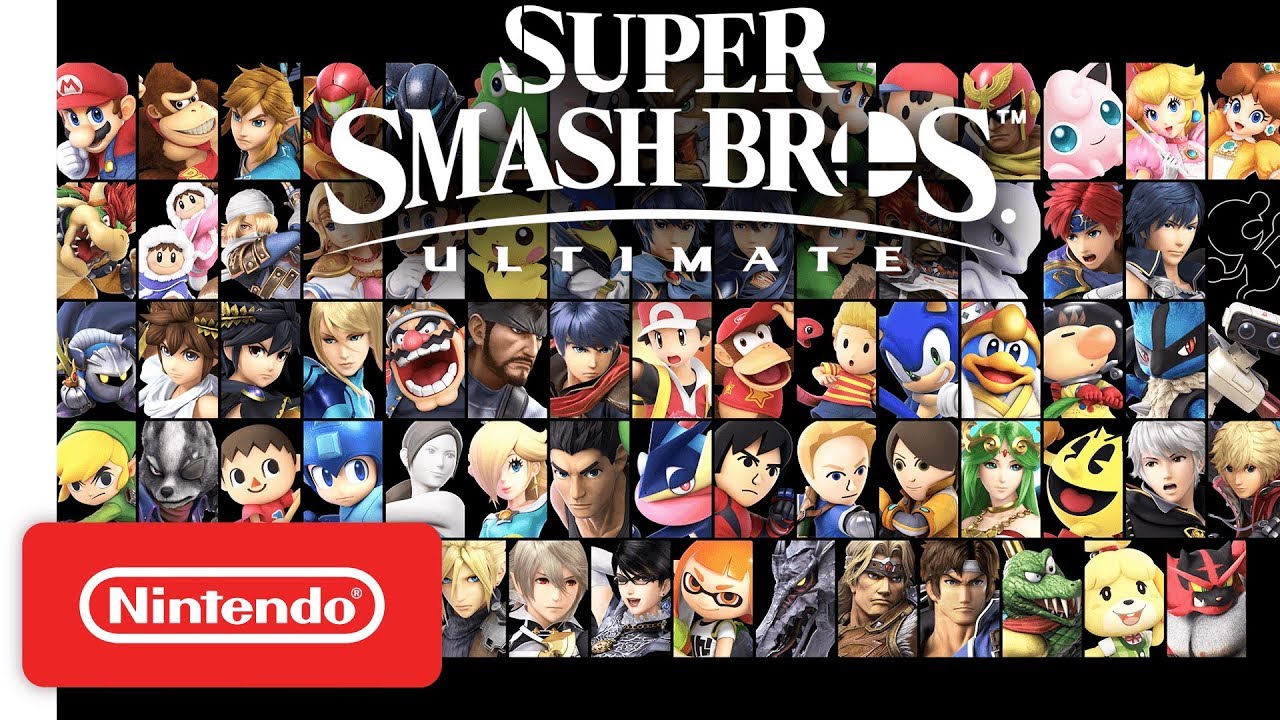
Ultimate has a very large roster.
Learning one fighter first helps you understand:
- Normal attack range.
- Special moves.
- Recovery distance.
- Fast defensive options.
- Reliable knockout attacks.
Do Not Judge a Fighter From One Match
Spend enough time to understand how the fighter moves before switching constantly.
Neutral
Neutral is the part of the match where neither fighter has a clear advantage.
Your goals are to:
- Control useful space.
- Watch the opponent's movement.
- Avoid unsafe attacks.
- Create the first clean opening.
Movement Is Part of Defense
You do not need to block every threat.
Spacing can make attacks miss completely.
Use:
- Walking.
- Dashing.
- Jumping.
- Platform movement.
to change the distance before the attack arrives.
Shielding
Shielding lets you defend against many normal attacks.
Do not hold shield forever.
A predictable defender can be pressured with:
- Throws.
- Waiting.
- Movement around the shield.
Perfect Shield
Nintendo's official techniques guide confirms that pressing shield immediately before being hit can produce a Perfect Shield.
This can create a stronger defensive response than simply holding shield continuously.
Dodging
Dodges provide temporary defensive movement.
Use them to avoid a specific threat rather than rolling repeatedly with no purpose.
Directional Air Dodge
Nintendo officially documents directional air dodging.
It can help:
- Avoid an aerial attack.
- Change recovery direction.
- Move toward safety while airborne.
Short-Hop Attacks
Nintendo's official techniques guide also documents short-hop attacks.
Short hops allow fast aerial offense without committing to a full-height jump.
Do Not Jump Constantly
Aerial attacks are important, but predictable jumps can be intercepted.
Mix grounded and airborne movement.
Recovery
Nintendo emphasizes that being launched does not automatically mean the stock is lost.
If you are knocked away:
- Stay calm.
- Identify your remaining jump.
- Use your fighter's recovery tools.
- Choose a safe route back.
Learn Your Upward Recovery
Most fighters have a special move intended to help regain height.
Practice how far it travels and how much directional control you retain.
Do Not Use Every Recovery Resource Immediately
If you spend your jump too early, you may have fewer options when the opponent attempts to intercept you.
Returning to the Stage
Getting back to the ledge is only the first step.
Once there, the opponent may continue pressure.
Avoid choosing the exact same return option every time.
Edge Pressure
When the opponent is off-stage, you may be able to threaten their recovery.
Do not throw away your own stock by chasing farther than your fighter can safely return.
Use Platforms
Platforms change:
- Movement.
- Landing options.
- Attack angles.
- Recovery routes.
Do not treat every stage as flat ground.
Fast Attacks vs Strong Attacks
Fast moves are useful for:
- Interrupting.
- Starting pressure.
- Responding after defense.
Stronger attacks are generally more valuable once the opponent's damage makes a knockout realistic.
Throws
Throws are important against opponents who shield too often.
They also change positioning and may place the opponent near the edge.
Do Not Attack Constantly
Sometimes the strongest decision is waiting for the opponent to commit first.
Watch for:
- A missed attack.
- An unsafe landing.
- A predictable recovery.
Practice Routine
- Choose one fighter.
- Learn basic movement.
- Learn one fast grounded attack.
- Learn one short-hop aerial.
- Practice shielding and dodging.
- Practice recovery from both sides of the stage.
- Learn one reliable knockout option.
Common Beginner Mistakes
- Using slow knockout attacks at low damage.
- Rolling repeatedly.
- Jumping constantly.
- Using recovery resources too early.
- Holding shield indefinitely.
- Changing fighters after every loss.
Bottom Line
Super Smash Bros. Ultimate begins with a simple goal: build damage and launch the opponent off-stage. Strong fundamentals come from movement, shielding, recovery and choosing attacks that fit the situation rather than constantly searching for an immediate knockout.